Is it true that you are hoping to clean up your living space with another layer of paint? Painting walls can be a rewarding DIY project that can transform the look and feel of a room. Whether you’re a novice or have some experience with painting, having a step-by-step guide can make the process smoother and ensure professional-looking results. In this guide, we’ll walk you through the essential steps of painting walls to help you achieve a beautifully painted room.
Step 1: Gather Your Supplies
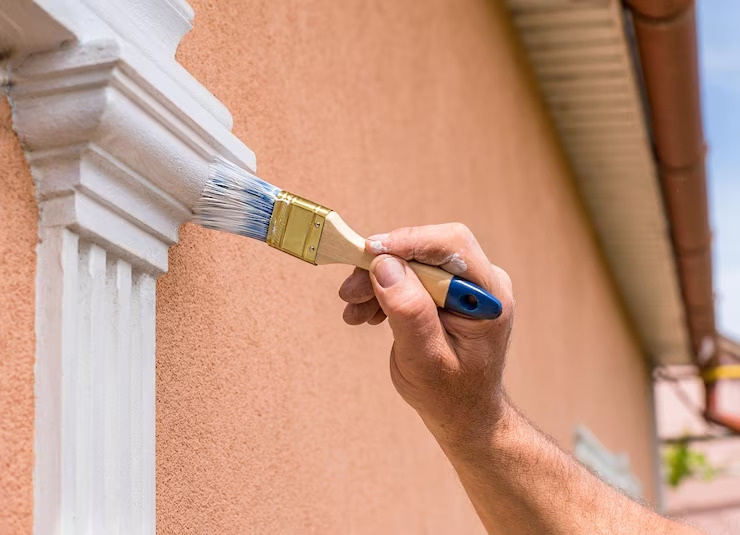
Before starting, gather all the necessary supplies:
Paint (primer, base coat, and topcoat)
Paint rollers and brushes
Painter’s tape
Drop cloths or plastic sheets
Painting Services Melbourne
Sandpaper
Caulk and putty knife (if needed)
Step 2: Prepare the Room
Clear the room as much as possible or move furniture to the center and cover it with drop cloths. Remove any wall decorations, outlet covers, and switch plates. Clean the walls to remove dust and dirt, and patch any holes or imperfections with spackle. Sand the patched areas once dry for a smooth finish.
Step 3: Protect Surfaces
Use painter’s tape to protect trim, ceilings, and any areas you don’t want to paint. Guarantee the tape is applied equally and squeezed immovably to forestall paint seep through. Lay down drop cloths or plastic sheets to protect floors and furniture.
Step 4: Apply Primer
Priming is essential for better paint adhesion and to ensure a uniform finish. Apply primer to the walls using a roller for large areas and a brush for edges and corners. Let the primer dry completely according to the manufacturer’s instructions.
Step 5: Paint the Walls
Once the primer is dry, it’s time to paint! Stir your paint thoroughly before starting. Utilize a roller for bigger regions and a brush for edges and corners. Apply paint evenly in overlapping vertical sections, working from top to bottom. Take care not to oversaturate the roller or brush to avoid drips and streaks.
Step 6: Apply Additional Coats
Depending on the paint color and coverage, you may need multiple coats. Permit each coat to dry totally prior to applying the following one. Follow the suggested drying times between coats.
Step 7: Remove Painter’s Tape
For clean lines, remove the painter’s tape carefully while the paint is still slightly tacky. Pull the tape away at a 45-degree angle to prevent peeling the fresh paint.
Step 8: Clean Up
Clean your brushes, rollers, and any paint spills or splatters immediately after finishing. Dispose of leftover paint and materials responsibly according to local regulations.
Step 9: Enjoy Your Freshly Painted Space
Once the paint is completely dry, move furniture back into place and enjoy your newly painted room! Admire the transformation and the sense of accomplishment that comes with a job well done.
By following these step-by-step instructions, you can tackle your painting project with confidence and achieve professional-quality results.
Domestic painting in Cranbourne
Are you in Cranbourne and looking for top-notch domestic painting services? Look no further than Jass Painting Services! Our experienced team specializes in transforming homes with expert painting techniques and quality finishes. Whether you need interior or exterior painting, we cater to all your domestic painting in Cranbourne and ensure exceptional results that exceed your expectations. Trust us for a seamless painting experience and a beautifully refreshed home. Contact us today for a personalized quote and let’s bring your vision to life with precision and style!